DLTK's Holiday Crafts for Kids
3D Paper Snowflake Craft

Materials:
- 2 pieces of paper (bigger sheets are easier to work with and make larger snowflakes)
- scissors
- glue, tape, or stapler (with adult supervision if necessary)
- string
Craft Instructions:
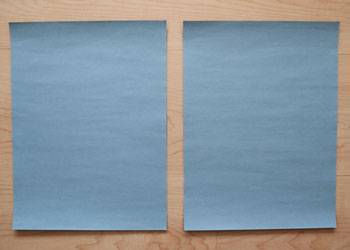 Start out with two pieces of paper.
- You can either use normal A4 paper or a square of paper.
- Use whatever colour paper you would like, and get creative! You can use markers, crayons, or paint to make your snowflakes extra unique. Try our water color or bubble painting techniques for something extra fun!
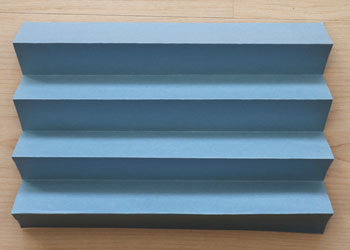 Starting with just one piece of paper, accordian fold it all the way down.
- If you are using an A4 paper, fold on the short edges.
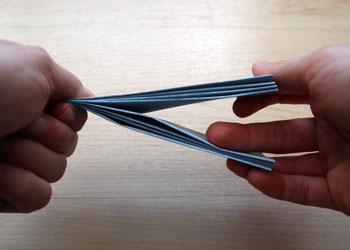 Squeeze the accordian folds together so that you have one very long rectangle. Fold the accordian in half.
- You should now be able to see a folded crease in the center of your accordian rectangle.
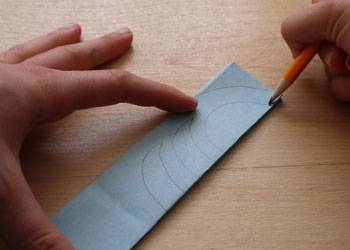 On one half of the accordian rectangle use a pencil to trace out some shapes.
- Trace half the shape you want. When you cut out your lines and unfold the accordian, the full shape will show up on your final snowflake. For example, cutting out half a circcle will show up as a full circle.
- I traced a curve on the outside, then a half circle, then two shapes that sort of look like half a canoe.
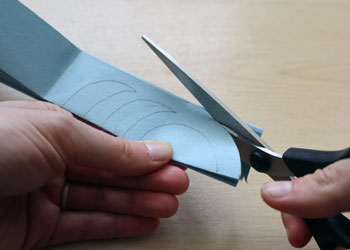 Cut out the shapes.
- Make sure you tightly pinch the accordian rectangle as you cut so that all of the layers of paper stay lined up.
 Following the crease you made earlier, fold the accordian rectangle back in half.
- Use a pencil to trace the cut-out shapes you made on the other half of the accordian rectangle.
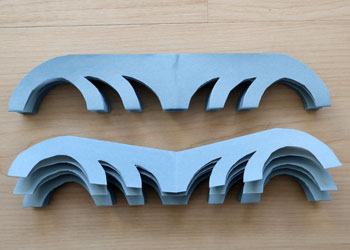 Repeat the accordian folding process on the second piece of paper.
- Using the first cut-out accordian rectangle as a template, trace the shapes on the second accordian rectanlge.
- Cut out the shapes again.
- Now you should have two cut-out accordian rectangles.
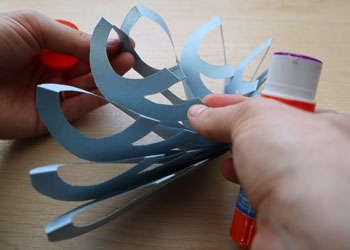 Fold one of the accordian rectangles in half and pinch together the two layers of paper that meet.
 - Using a gluestick, tape, or stapler (with supervision), secure these two pieces of layers together.
- You should now have one half of your snowflake!
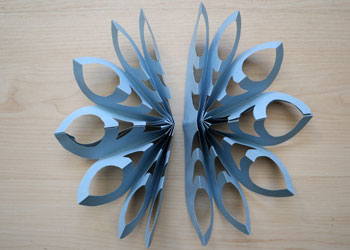 Repeat with the second accordian rectangle so that you have two halves of the snowflake.
 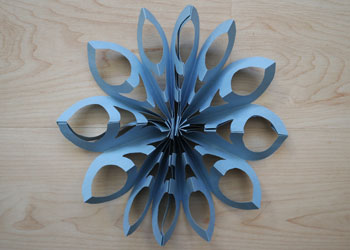 Using a gluestick, tape, or stapler (with supervision), secure these two halves together by gluing, taping or stapling (with supervision) the outside paper layer of each snowflake half together.
 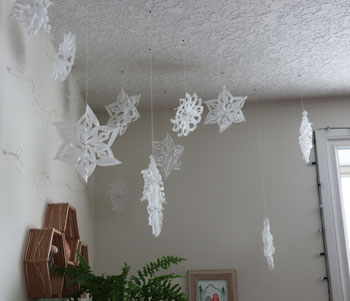 Use a string, thread, or wool to hang up your 3D snowflake! Enjoy your wonderful, wintery decor!
Printable version of these instructions