DLTK's Holiday Crafts for Kids
3D Paper Snowflake Craft
Contributed by Kailey Guenther

One of my favorite parts of Christmas is doing the decorations. This stunning 3D paper snowflake is versatile and can be used as an ornament or hung from bannisters, wreath, and so on!
Learn how to combine folding + cutting to create a unique decoration perfect for the holiday season.
Materials:
- 6 pieces of paper (whatever colors you want; feel free to decorate your paper using paint, marker, or pencil crayon to create an even more unique decoration)
- scissors
- stapler (with adult supervision if necessary) or tape
- string
Craft Instructions:
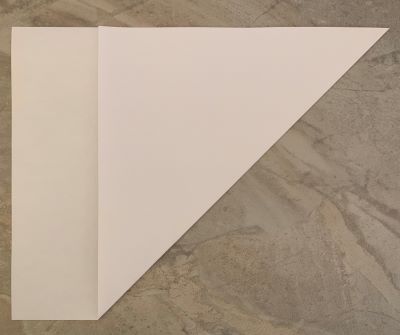 Take one piece of paper. Bring one corner of this paper and fold it so the sides line up and it creates a triangle. (There should be extra paper on one edge.)
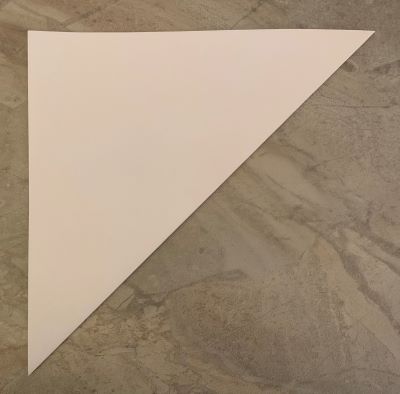 Cut off the extra paper so that there is only the folded triangle left.
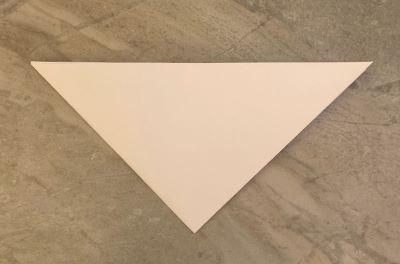 Fold this triangle in half to create a smaller triangle.
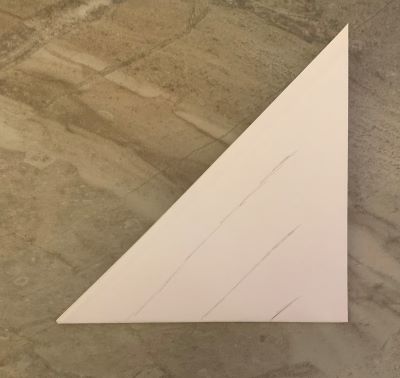 Cut lines up from the folded edge. (Important: do not cut all the way; leave about a cm of space at the top.)
 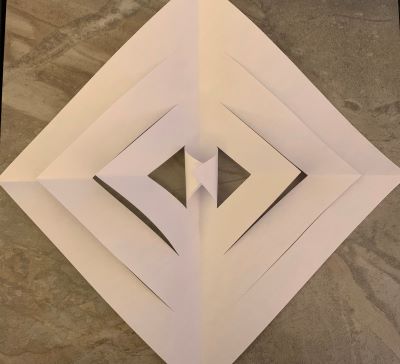 Unfold the triangles. Start with the two middle flaps and tape/staple them together (it should look as though the paper is now twirled).
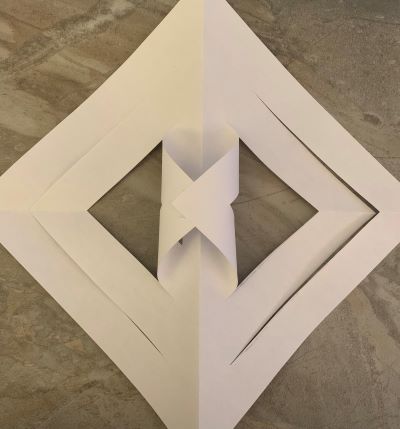 Flip over the paper and take the second flaps on each side and tape/staple them together
  Continue flipping over the paper and stapling the flaps together each time until there are none left.
 Repeat this 5 more times so you have 6 pieces in total. You can use any colours of paper you would like.
 Finally, attach the pieces together in the centre (you can also tape the sides together so the snowflake keeps its shape). Add a string so you can hang it up, and you are finished! Enjoy!
Printable version of these instructions