DLTK's Holiday Crafts for Kids
Pumpkin Carving Patterns
Well, I love letting the girls design their perfect triangular eyed and one-tooth mouthed pumpkins but as they get older they're starting to want fancier designs on their Halloween masterpieces. While you can muddle through some of the simpler designs with serrated knives, tablespoons and a small nail, you'll be well served investing in some pumpkin carving tools if you plan on attempting some of the more detailed designs.
Pumpkin carving sets are quite easy to find at the right time of year at your local Walmart-type store, home and garden store or even on-line.
These are not intended as cut and paste paper crafts -- check out our Jack-o'-Lantern Faces instead.
Materials:
- pumpkin,
- printer,
- paper,
- spoon or pumpkin scoop,
- small nail or pumpkin poker,
- serrated knife or pumpkin saw (the more complicated the pattern, the more you're going to want a pumpkin saw).
Instructions:
- Prepare your pumpkin by:
- Cut a hole in the top for the lid. Make sure you angle the saw inwards so your lid sits on top of the pumpkin and doesn't just fall through
- Scoop out the seeds and strings with a spoon
- Scrape some of the flesh from the inside so your pumpkin is about an inch thick all the way around (or at least wherever you'll be carving). You can poke a straight pin through it to estimate the thickness.
- Print out the pattern.
There are two types of patterns. Some require you to cut the character out of the pumpkin. Other patterns, like Blue's Clues, use the leftover pumpkin to represent the pattern and you cut out the background to make the character look back lit. Generally speaking, the patterns like Blue's Clues are easier to make because there is less fine cutting. - Trim off excess paper
- Tape or use pins to affix the pattern to the pumpkin.
- If your pumpkin is quite lumpy, dip the paper in water or vegetable oil (the oil will make printer ink run less, but makes the
project quite slippery). Darren likes oil, I like water -- I wonder what that says about our marriage?
- Smooth the pattern onto the pumpkin, affix with pins or masking tape and let the paper dry.
- You can also make small cuts in the paper where it bunches so it lies flat on the pumpkin. Add pins or tape to hold.
- Poke holes through the pattern with a nail, push pin or pumpkin poker. Make the holes about 1/8th inch apart (or even closer for more complicated patterns). This step can take quite awhile so be patient. Just place the pumpkin in your lap and work away at it.
- Remove the paper from the pumpkin.
- Optional: Rub flour or chalk dust all over the part where you poked the holes so you can see them better.
- Push a nail through the pumpkin skin where you want to start carving.
- Turn and push until it's all the way into the pumpkin, then remove.
- Repeat anywhere you're going to need to start carving (eyes, nose, etc).
- You want to do all the pushing before you start carving because it take some pressure (once you start carving, the pumpkin becomes weaker and applying pressure may cause it to break)
- Using your nail hole as a starting point, cut the design with your serrated knife or saw.
- start somewhere in the center of the design to keep from putting too much pressure on areas already carved
- Use a sawing motion to cut out your design, using very light pressure… take your time and allow the sawing to do the work rather than applying pressure and forcing it.
- When making curves, just slightly turn the saw. When making sharp corners, remove the saw and re-insert it at an angle.
- To remove pieces, push them out from the inside. For larger pieces, you may want to cut them into smaller bits and remove them in pieces.
- Once your pumpkin is all set, use a pumpkin light (safer than a candle) or a candle in a candleholder designed for pumpkins to
light it up.
- Light the candle and place it on a piece of aluminum foil inside the pumpkin. Put the lid on. Let it sit a minute
- Remove the lid and there should be a smoke mark on it
- Cut a vent in the lid where the smoke mark shows
Click here for instructions with photos >


Alien 2 Pattern Template
Carved by Kaitlyn in 2011 (age 13)

Angry Birds Pattern Template
Carved by Kaitlyn in 2011 (age 13)
Thanks to Caroline for sharing her photo too.

Baby Dinosaur Pattern Template
Carved by Kaitlyn in 2019 (age 21)


Bat Pattern Template
In my opinion, this is the best one for a child to start with when they're interested in starting to carve from a pattern.


Cat Pattern Template #2
Thanks to Debbie for sharing the photo!!

Cat Pattern Template #3
Carved by Kaitlyn in 2010 (age 12)

Cat Pattern Template #4
This one is the toughest cat pattern to cut out.
Thanks to Sommer for sharing this photo!! (And Debbie for hers.)

Cat Face Pattern Template
Thanks to Tasha for sharing the photo!!

Cat on a Fence
Thanks to Debbie for sharing the photo!!


Clown (Scary) Pattern Template
Thanks to Jay for sharing the photo!!

Count Pattern Template
Thanks to Bina for sharing the photo!!

Creepy Pattern Template
Thanks to Debbie for sharing the photo!!


Dragon Head Pattern Template
You can skip the flames at the bottom for an easier template to carve.


Gargoyle Pattern Template
Thanks to Dan for sharing the photo!!

Ghost Pattern Template
Thanks to John for sharing the photo!! (and Dustin)


Give Blood Pattern Template
A nod to the red cross during Halloween -- I thought it was a cute idea... my husband didn't get it.

Happy Halloween Pattern Template
Caroline's version of the template combine the bat and Happy Halloween templates and left out the little bats on the Happy Halloween template.
Thanks to Caroline for sharing the photo!!


Haunted Pirate Ship Pattern Template
Thanks to Debbie for sharing the photo.

Jack Pattern Template
Thanks to Kristen for sharing the photo!!


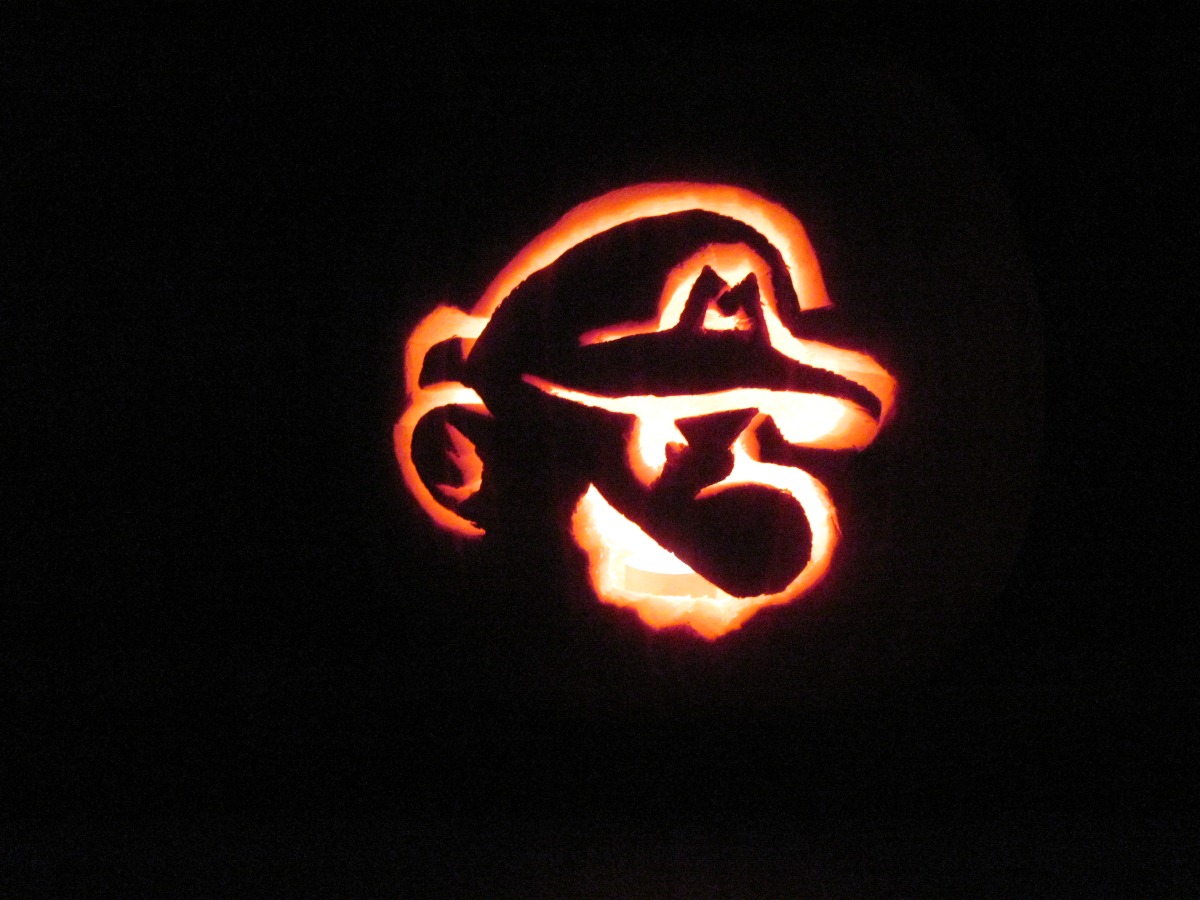

Monster Pattern Template
Thanks to Andrew for sharing the photo!!
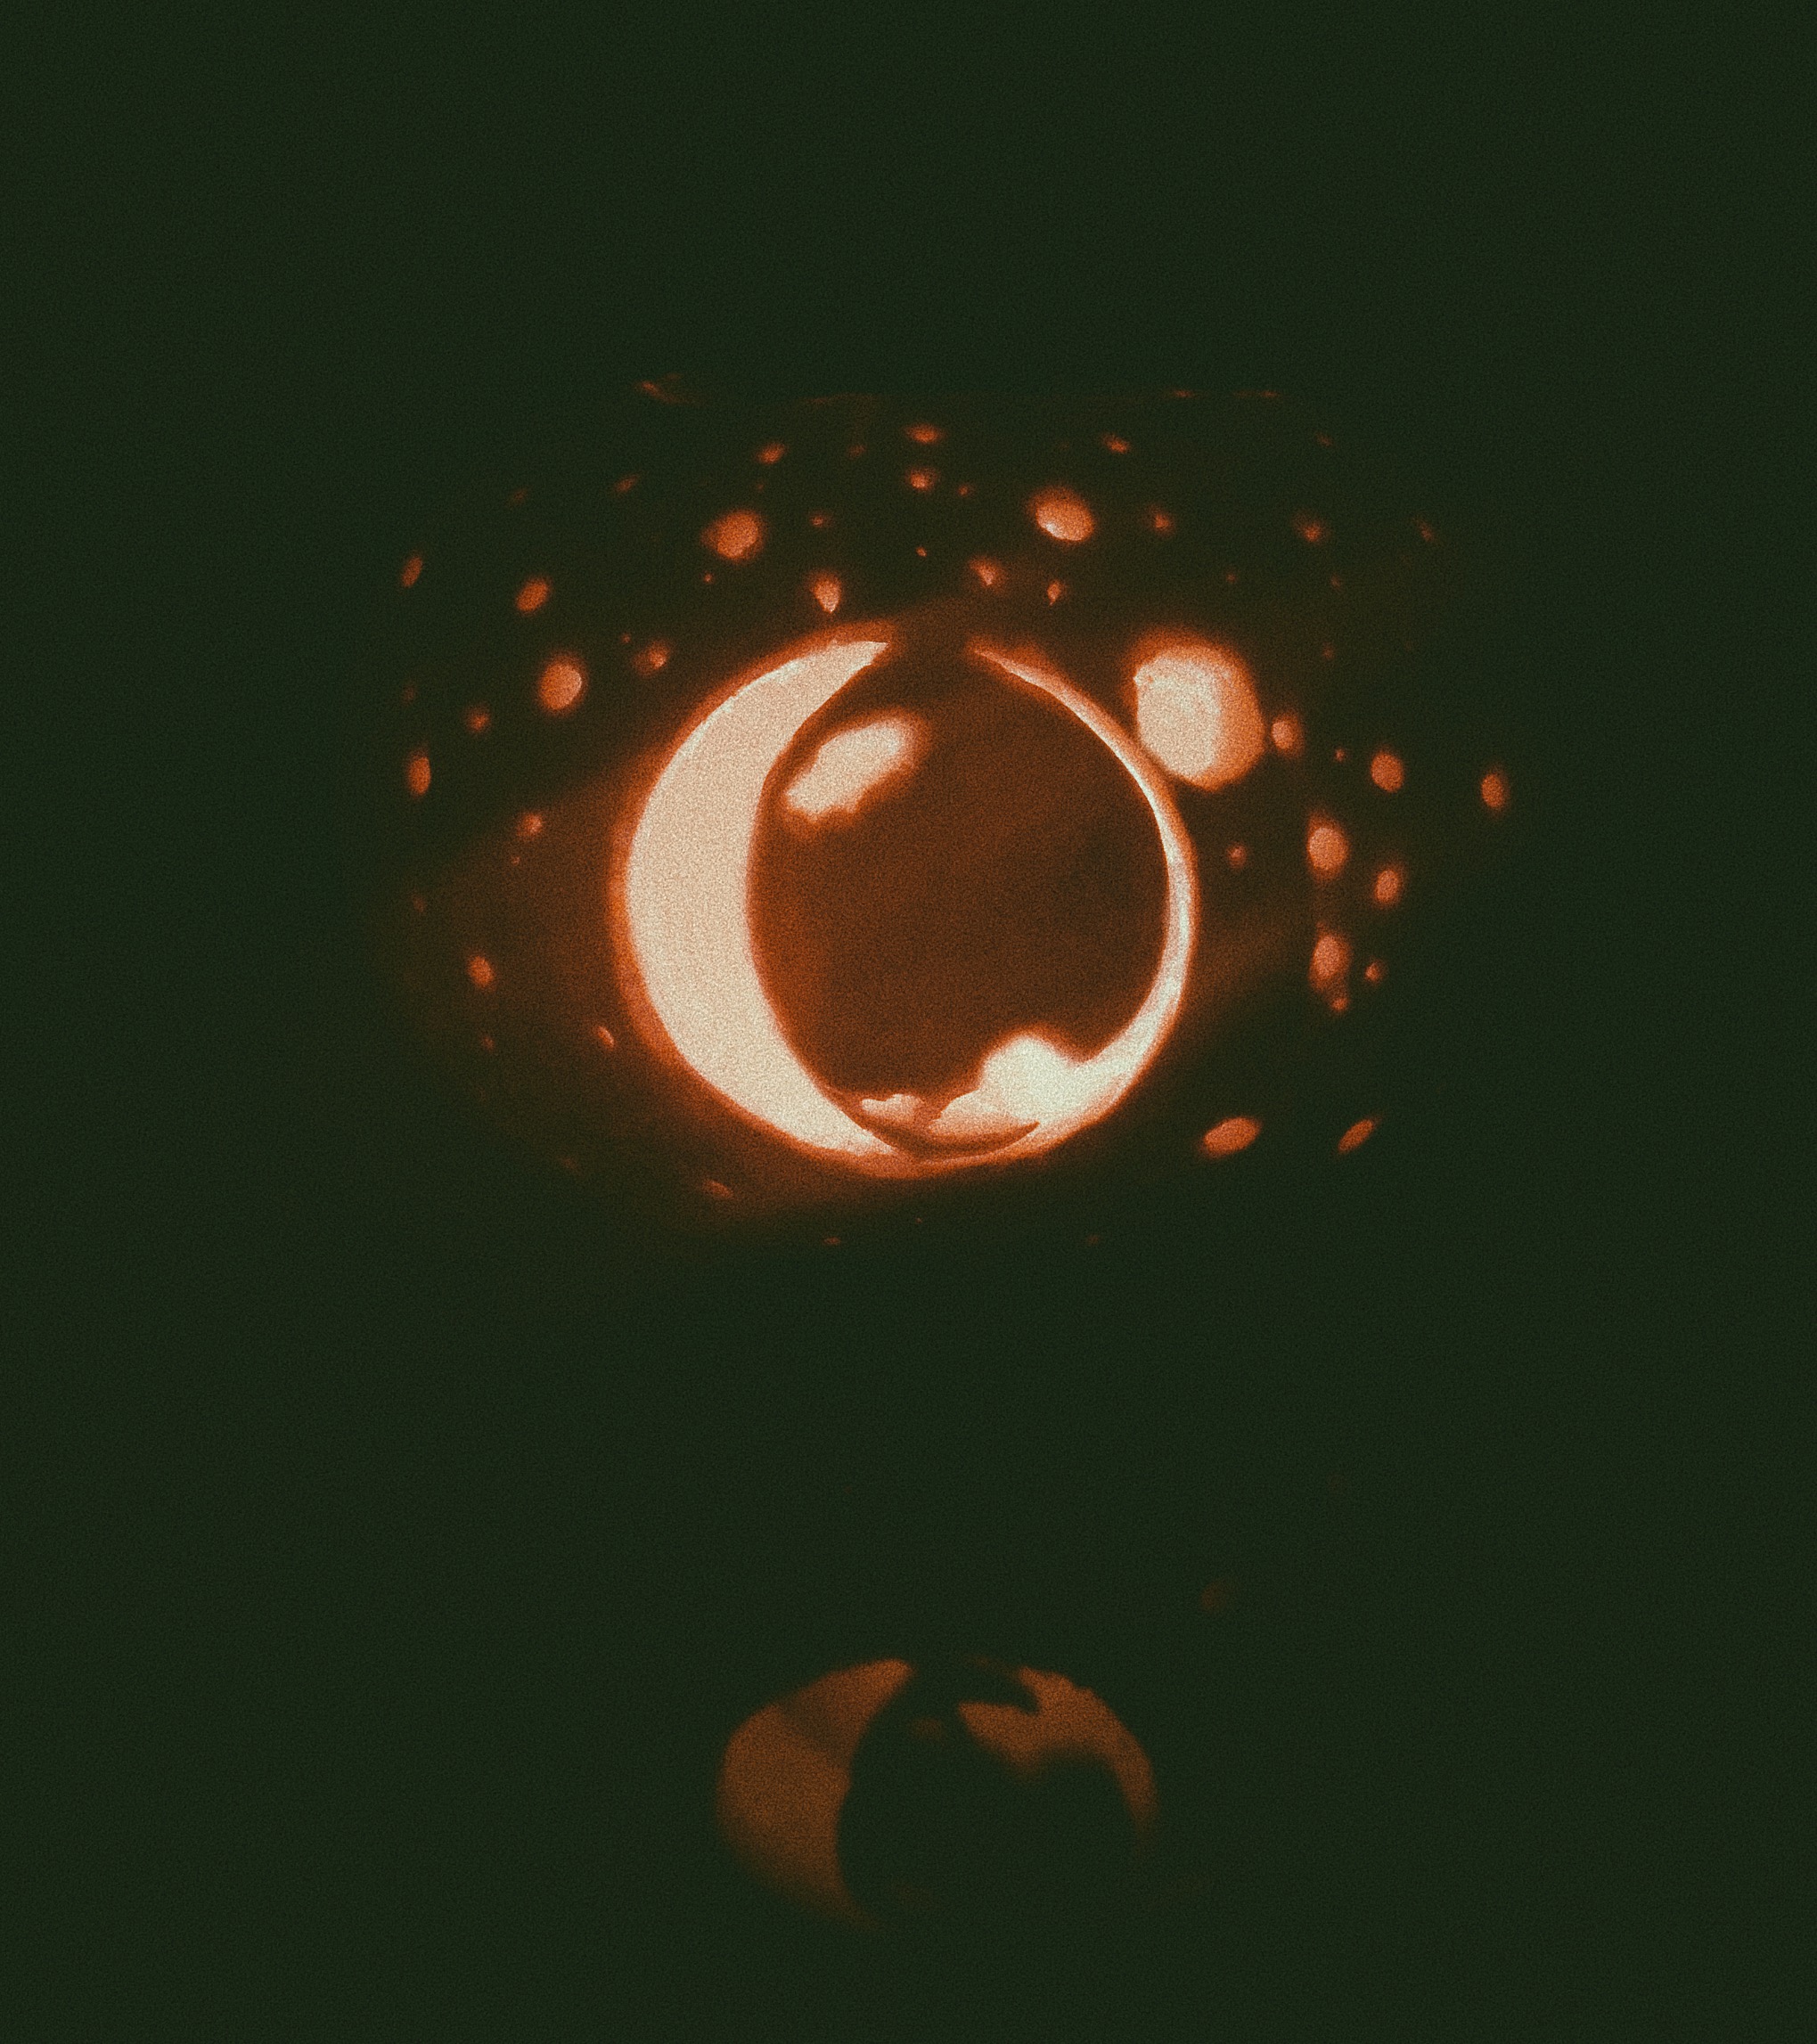
Moon Pattern Templates
Thanks to Tasha for sharing the photo!!
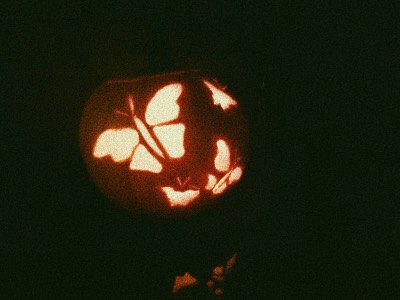
Moth Pattern Templates
Thanks to Tasha for sharing the photo!!

Mummy Pattern Template
Carved by Kaitlyn in 2010 (age 12)

Night Scene Pattern Template
Thanks to Debbie for sharing the photo.


Pterodactyl Pattern Template
Carved by Kaitlyn in 2019 (age 21)

Pumpkin Face Pattern Template
Thanks to Terry-anna for sharing the photo!! (As well as Melena and Debbie)


R.I.P. Pattern Template
Thanks to Brooke for sharing her pumpkin!

Scarecrow Pattern Template
Thanks to Debbie for sharing her photo too!


Skull Pattern Template
Thanks to Esme for sharing a photo!

Smurf Pattern Template
Thanks to Marcus for sharing his carving!


Spider Pattern Template #2
Thanks to Debbie for sharing the photo!!

Spider Web Pattern Template
Thanks to Debbie for sharing the photo!!

Sponge Bob Pattern Template
Thanks to Nicholas' dad for sharing the photo!! (also Christian and Steve.)


Thomas the Tank Engine Pattern Template
Thanks to Malena for sharing her photo!

Thomas the Tank Engine Pattern Template #2
Thanks to Jamie for sharing his template and the photo!

Tree Pattern Template
Thanks to Debbie for sharing the photo!!

Baby Dinosaur Pattern Template
Carved by Kaitlyn in 2019 (age 21)


Vampire Pattern Template
Thanks to Debbie for sharing the photo.
Vampire (Count) Pattern Template
Thanks to Bina for sharing the photo!!

Welcome Pattern Template
Thanks to Malena for sharing her photo!

Witch Face Pattern Template
Thanks to Debbie for sharing this photo!

Witch Pattern Template
Thanks to David for sharing his photo!


Click here for instructions with photos >
Printable version of these instructions